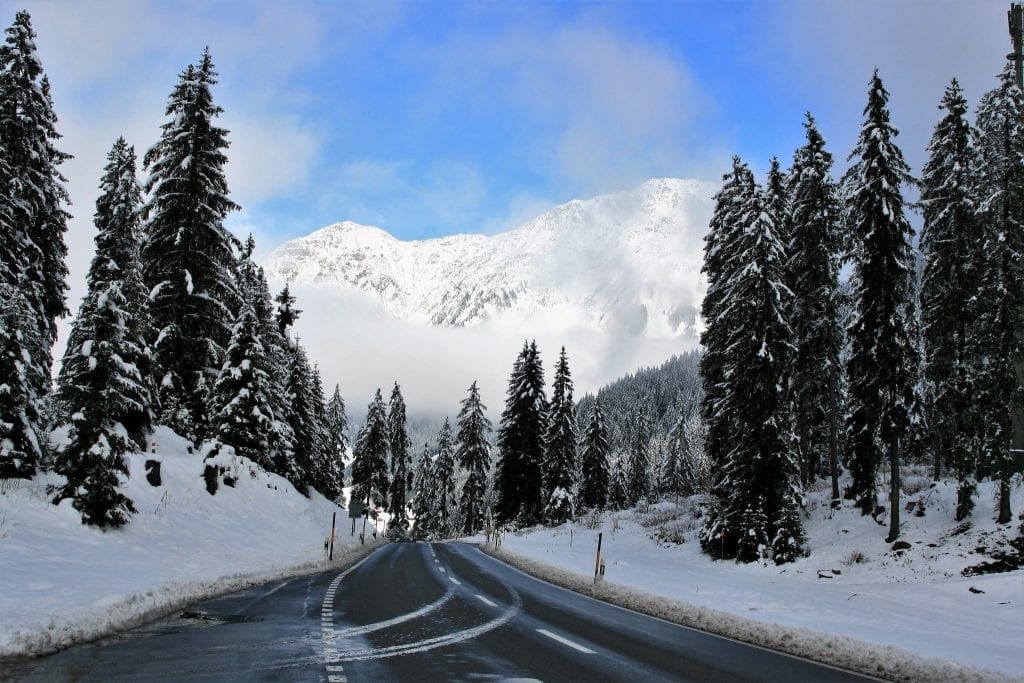
If you do plan on going out in your van in the winter mak
1. Water System
The most important task that you must follow when winter arrives is clearing all the water completely from the entire water system.
The tank, tap, pump and pipework – the only way to fully drain the tank, tap, pump and pipework is via the tap, simply run your tap to empty the system. In freezing winter weather your tap is the most vulnerable part of your whole water system, so you must ensure that the tap is fully emptied to avoid any freeze damage.
To fully empty the tap turn it on and let it run until the water splutters and eventually runs dry, continue to run it and let it splutter for around 30 seconds to ensure that all the water is clear from the system. To ensure any excess water does not collect in the tap after you have finished, switch the tap off by the power supply switch on your control panel and leave the tap lever in the open position, therefore allowing any extra water that may collect to drain freely.
The Webasto hot water exchanger unit – if you have the Webasto hot water exchanger unit the hot water supply to your tap runs through the Webasto heat exchanger, thus simply emptying the cold-water side of the system will not remove water that is left in the heat exchanger unit. The unit is vulnerable to damage if the water inside freezes, so it is very important that this water is also removed.
To empty the water from the Webasto heat exchanger and all hot water pipes, turn the sink tap to the hot (red symbol) position, run again until the water splutters and eventually runs dry, continue to run it and let it splutter for around 30 seconds to ensure that all the water is clear from the system. If you have a rear shower fitted, then you must also follow the same procedure for the shower unit.
2. Leisure Batteries
There is nothing you need to do to the leisure battery system over the winter, but do remember that over a few months of being left dormant the ampage and voltage will gradually decrease. Before you next use your van, ensure your leisure batteries are back to full charge by plugging your van into the 230v mains supply for 24 hours.
3.Elevating Roof
Roof Canvas – If your campervan has an elevating roof then you must make sure that the canvas is fully dry before leaving it closed shut for the winter months. If in doubt then put the roof up on a sunny breezy day and make sure it’s properly dry. If your van has our own removable canvas system then drying it inside is also of course an option.
If you have a roof bed then it’s also a good idea to remove the roof bed mattresses and bring it into a dry environment – if it’s been used frequently over the summer then it can become damp beneath. The covers will unzip and can be removed for washing.
Elevating Roof Seal Rubber – A handy campervan tip is to either rub talc or wipe/spray silicone spray around the underside of the rubber seal of the elevating roof where it seals down onto the actual vehicle roof when closed. This will help the rubber seal from tacking to the steel roof, as this can sometimes happen when the roof has been closed for long periods and the rubber may begin to peel off from the underside of the elevating roof when the roof is next raised. It is also important to keep the original van steel roof, onto which the elevating roof closes, clean and free from dirt and tree sap – both of which can make the roof rubber stick to the roof and pull free from the elevating roof shell.
If the rubber does pull free from the elevating roof then it simply pushes back on and does not need or use any glue. Within the section of the roof rubber that pushes onto the roof shell are small steel inserts, so before pushing it back into place it is best to first squeeze it gently together along its length to tighten its grip.
Like Us On Facebook
Like us on Facebook to keep up to date with all our recent blog posts, videos and photos!


